


This tutorial for a Halloween glow in the dark trick or treat bag will make it fun and easy to create a glow-in-the-dark trick-or-treating bag with 8 design templates to choose from! I give you a few options to use for painting as well! Let’s do it!

Supplies needed for glow in the dark trick or treat bag:
- Canvas tote bag The size is about 14in tall and 13.5in wide.
- Templates to trace designs printed (if you want the shape you trace to be more sturdy you can print on cardstock as long as it works in your printer, I just used regular printer paper)
- Pencil to trace the design
- Scissors to cut out the design templates
- Acrylic paint (glow in the dark or regular) or fabric markers (I used the tulip brand)
- Paper plate or something to put paint on
- Paintbrush
- Scrap paper or wax paper to put between the layers of your bag, the paint will go through so you want to make sure it doesn’t get on the other side of the bag or your table.
- Glow in the dark puffy paint (I used the tulip brand in the natural color)
*may contain affiliate links

Instructions:
1. Gather supplies.
2. Put your scrap paper inside of your bag to prevent it from bleeding through the fabric when you paint. Print design templates and cut the shapes/letters you want to use for your bag.

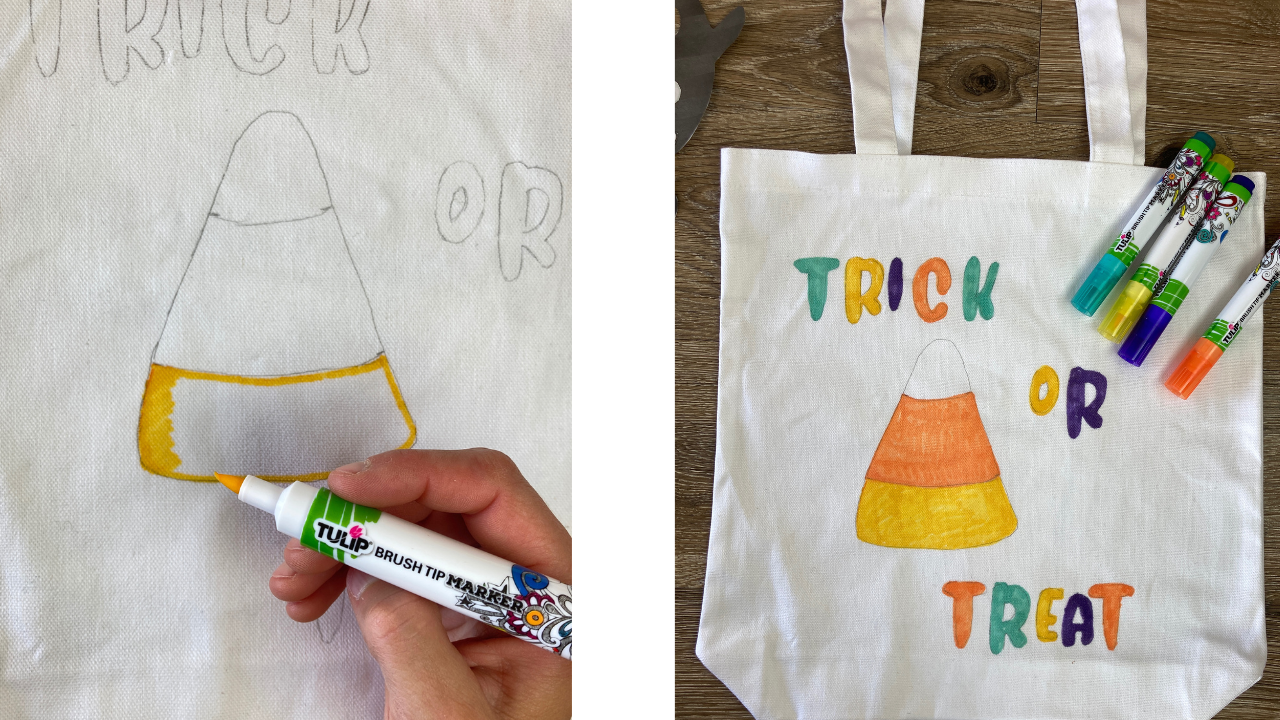
3. Trace the design onto your canvas tote using a pencil.

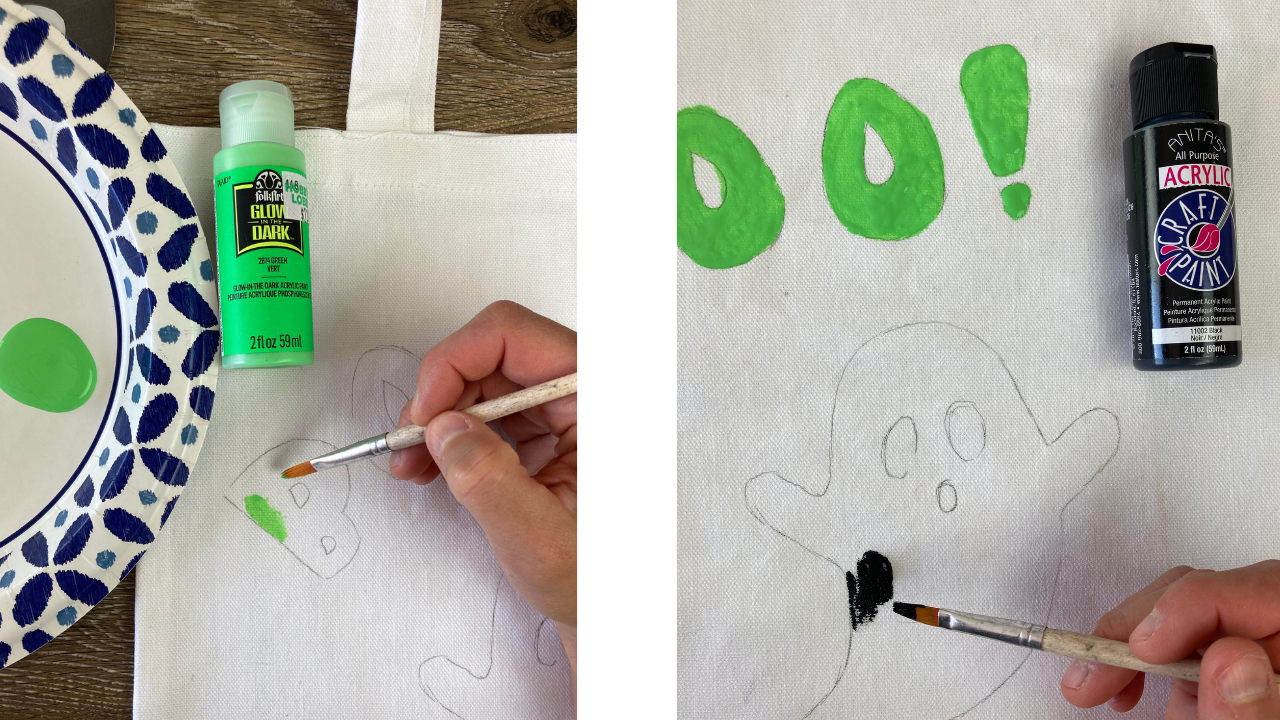
4. Using the paint colors of your choice paint the design using acrylic paint or fabric markers and let it dry completely. You can use glow-in-the-dark acrylic paint or regular paint and then add the puffy paint after it dries. I thought the markers were great to use! If I had to pick I would choose them for sure, but I know we all have tons of acrylic paint lying around so it works too just a bit messier.
5. Once your design is dry use the puffy g paint to trace around the outside of the design on your trick or treat bag and the letters you’ve painted, you can trace some details with it too. Make sure to let it dry completely.

6. Make sure you expose the glow-in-the-dark paint to light before taking it out to trick or treating so the paint is activated!

Your child can even personalize the trick or treat bag and write their name on their tote using the puffy paint! I think this is a fun project and it takes no time at all best of all your child will stand out when they are trick or treating in the dark, you will be able to see exactly where they are at!

If you want to create your own trick or treat bag click below to get the 8 FREE designs to use for your bags!

Happy crafting,