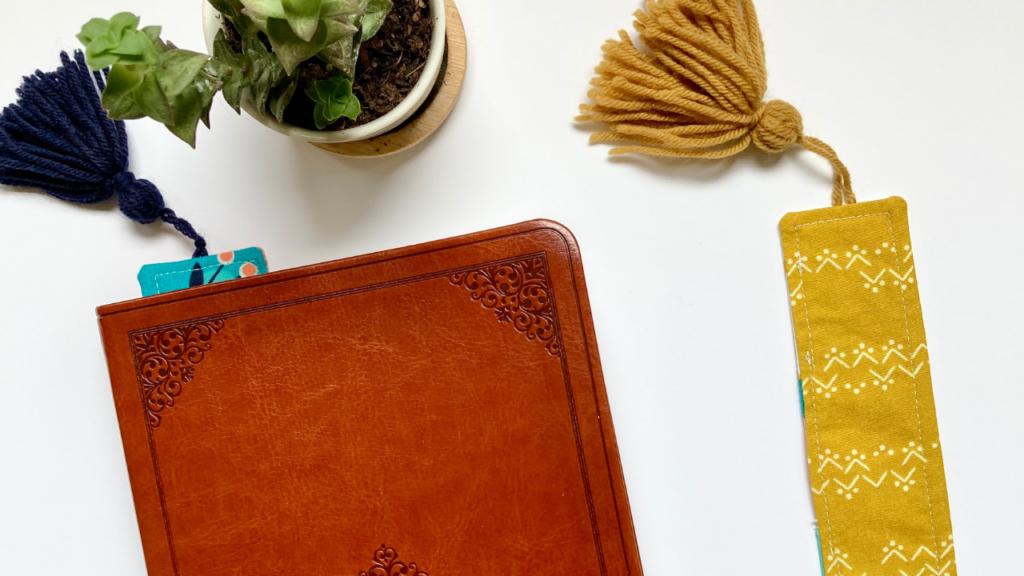
Does your child love to sew and read? I have an easy sewing pattern for a fabric bookmark that they will love! Get your FREE printable fabric bookmark pattern here!

Supplies needed for your fabric bookmark:
- Fabric-(2) 2″ x 6½”
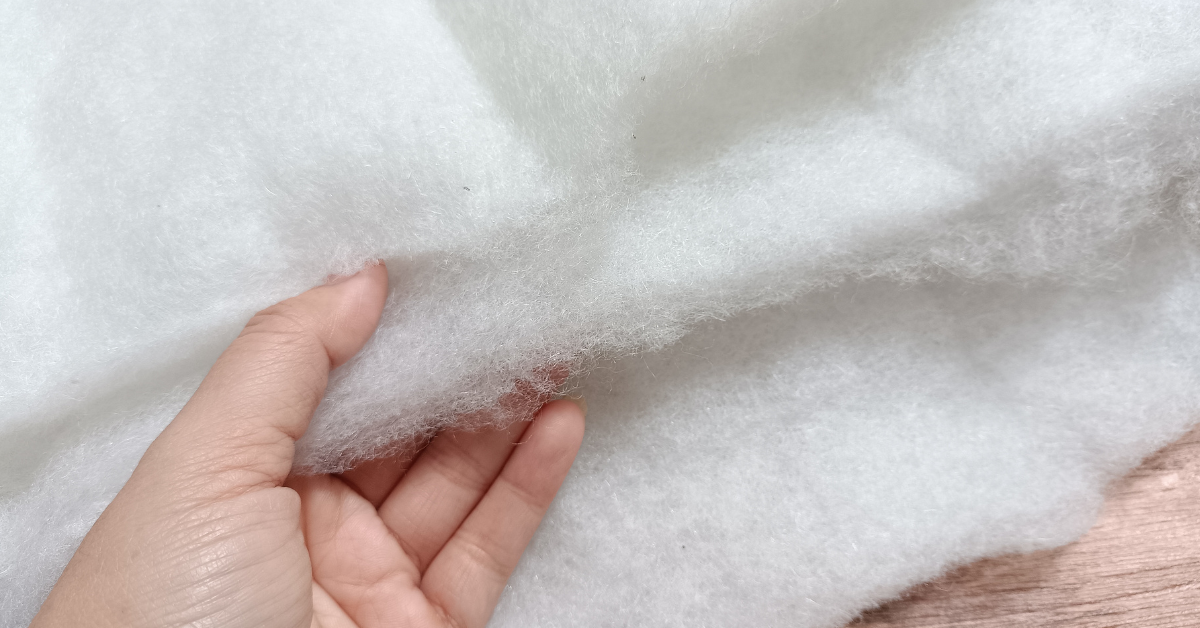
- Medium weight fusible interfacing (1) 1½”x 6″
- Yarn or ribbon 2-3″
Tools needed:
- Sewing machine
- Thread
- Fabric scissors
- Iron and Ironing board
- Pins or clips
Skills:
- Sewing a straight line
- Top stitching
- Cutting Fabric
- Using interfacing
- Pressing
- Turning fabric
Choose 1-2 pieces of fabric you would like for your fabric bookmark, I like picking two just for fun but you can also just use the same fabric on both sides. I used a ruler and a pencil to mark my lines and then just cut my fabric with fabric scissors, you can also use a rotary cutter, mat, and ruler if you like that better.
Let’s get started!
1. Cut (2) 2″ x 6½” fabric pieces and (1) 1½”x 6″ interfacing. Fuse the interfacing (iron using the instructions on the package) to the center of the wrong side of (1) fabric piece.

2. Cut a 2-3″ piece of yarn or ribbon, fold it in half, and line it up in the center of the top of the bookmark raw edges lined up, sandwiched between the (2) layers, pin or clip in place.
3. Place the right sides of the fabric together, sew ¼” seam around all edges, making sure to leave a 2-3″ opening on one of the long sides to turn it out later, and backstitch at the beginning, and end.

4. Clip the corners being sure not to cut through the seam, turn the bookmark right side out, push out the corners and sides, and press with your iron. When pressing the opening make sure it is straight and even to help when topstitching later. Top stitch ⅛” seam allowance around the entire bookmark closing the opening you made to turn it right sides out.


Happy crafting!


