
This quick and easy fall lantern is fun to make and is finished in an afternoon! I think these mason jar crafts would be fun to add to a Thanksgiving table or use as fall decorations! I hope you will make some with your kids for the fall season! The supplies you need you can find at a local craft store and you may even have most of them around the house. Have fun!

Supplies Needed for your Fall lantern:
- Jar-can be any size you like, an old spaghetti jar, mason jar etc
- Tissue paper-You can use leftover from gifts or you can buy precut squares from craft stores
- Mod Podge
- Brush to paint on the mod podge, I used an old paintbrush, or you can use a foam brush
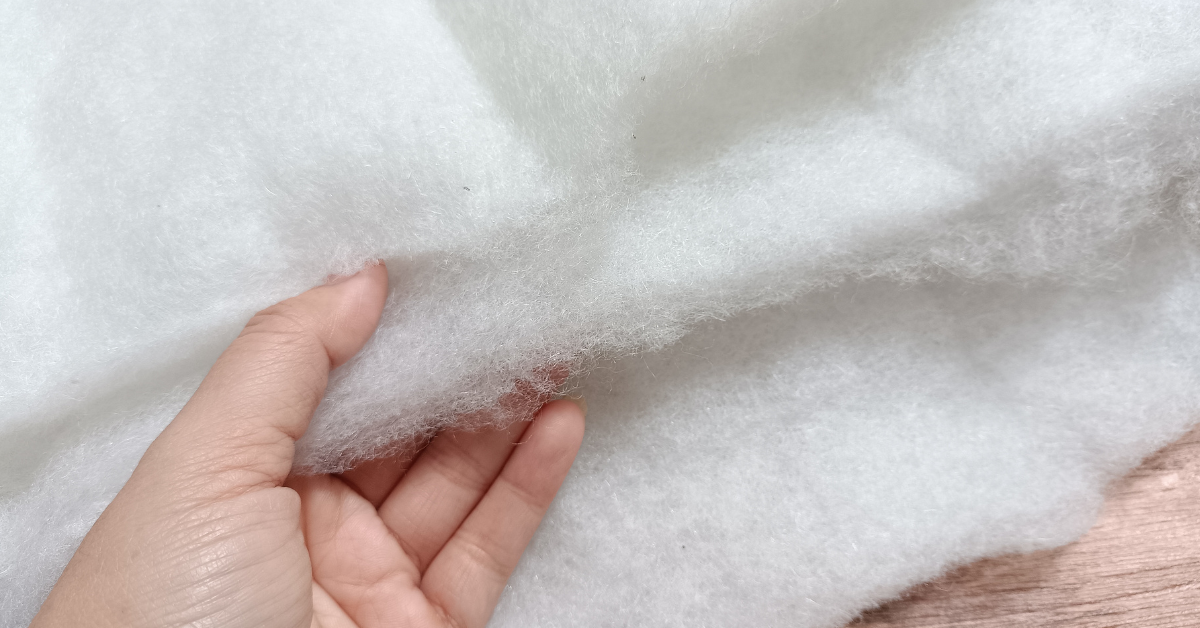
- Battery powered tealight
- Wire-for the handle
- Something to cut wire, my wire was thin enough that I used scissors
- Wooden beads, or any beads you like
- Acrylic paint-to color the wooden beads (optional)
- Ziplock bags for each color of bead (only if painting beads)
- Something to dry beads on (parchment paper, wax paper, aluminum foil etc)(only if painting beads)


step-by-step instructions for your fall lantern:
1. Make sure you start with a clean, dry jar.
2. Tear your tissue paper into the sizes you want to attach to your jar, start with a thin layer of mod podge (using your paint brush or foam brush) on the jar and attach the tissue paper to that. Once you add the tissue paper paint another thin layer on top of the tissue paper until you’ve covered the jar to your liking. You can layer the tissue paper, just make sure you put a layer of mod podge under and on top of the tissue paper. Make sure your mod podge final layer on your Fall lantern is even and smooth, and let it dry completely.

3. While your jar is drying if you choose to paint your beads add the number of beads you want into a ziplock baggie and add your acrylic paint and smoosh them around until they are all coated with paint. Remove from the baggie and let them dry completely on your wax paper, parchment paper, etc. Continue with all of the beads until you have colored them all. Let the beads dry completely.

4. Once your jar and beads are dry, wrap your wire around the rim of the jar, create two loops on either side of the jar by twisting the wire around the jar, and secure by twisting the wire around itself.
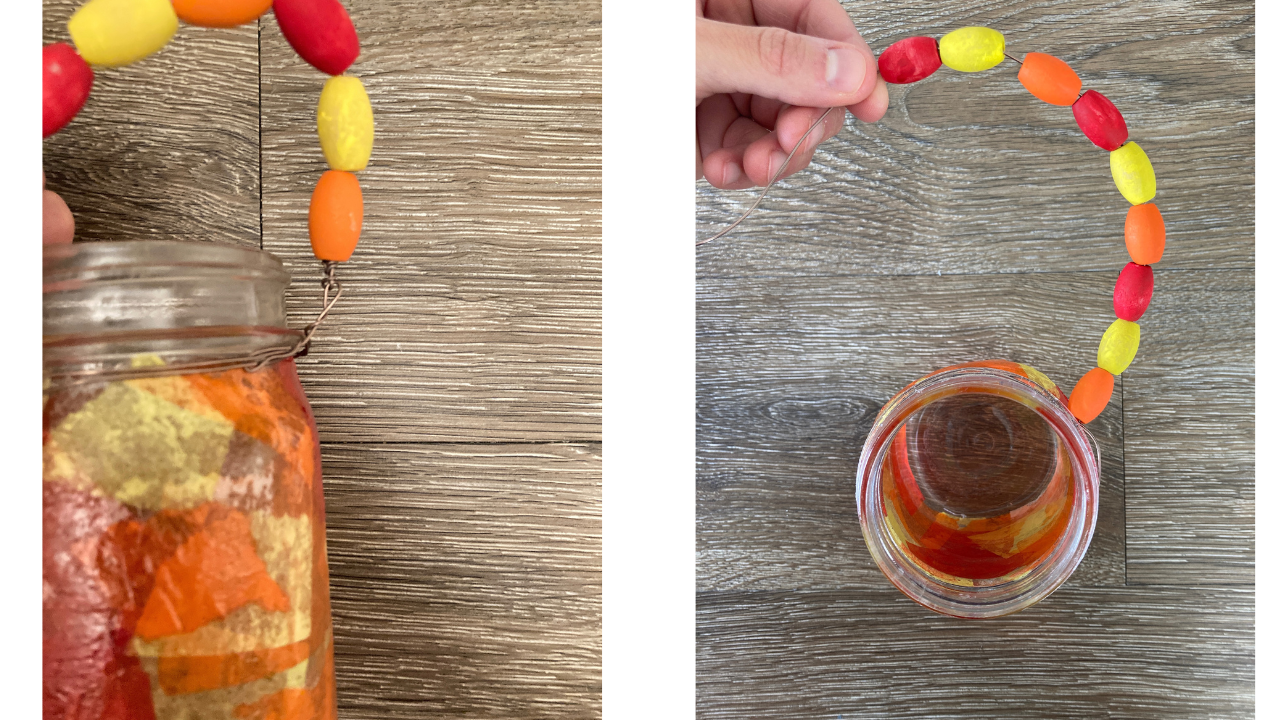
5. Attach one side of the wire handle to one of the loops of wire you just created on the rim of the jar.

6. String the beads onto the wire that is attached to the jar and secure the other side of the wire to the other loop that’s on the rim.

7. Add your tea light to your Fall lantern and you are all done!

I would love to see your lanterns, you can tag me on Instagram @elevationhandmade
Happy Crafting,