

Fall is the perfect season for cozy baking and cooking, and what better way to celebrate it than by crafting these delightful pumpkin potholders? In this guide, we’ll take you through the steps to create a charming pumpkin-themed potholder that will not only protect your hands but also add a touch of autumn flair to your kitchen. Let’s get started on this creative journey!
Supplies and Tools for pumpkin potholders:
For (1) potholder:
- Pumpkin fabric (2) 8.5″ x 11″
- Green/stem fabric (1) 3″ x 5″
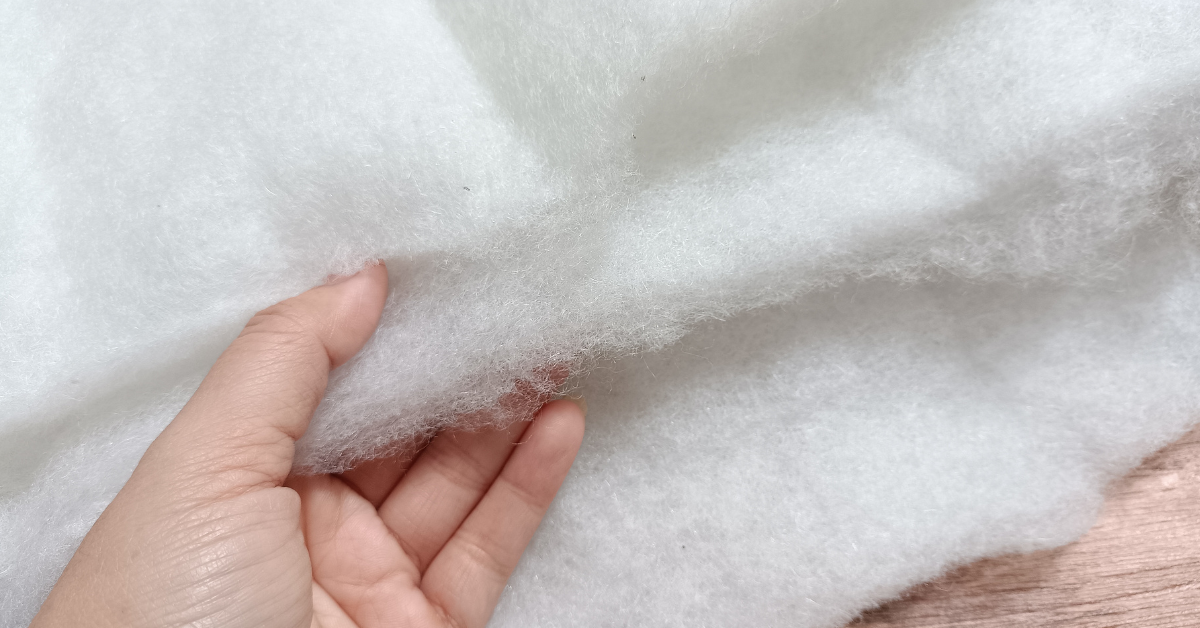
- Batting (1) 8.5″ x 11″
- Insul-bright (1) 8.5″ x 11″
- Sewing Machine & Thread
- Pins
- Iron
- Ironing board/mat
- Fabric Scissors
- Paper Scissors
- Marking tool
step by-step instructions to make pumpkin potholders:
- Print and cut out the pumpkin template.
- Pin the template to the (2) layers of pumpkin fabric, trace with a marking tool, remove pins, and cut the pieces out. Repeat with the batting and the insul-bright.

3. Take your green fabric (stem) fold and iron the long sides in 1/4″ and then fold in half, and press.


4. Sew using a 1/4″ seam allowance along the folded edge.

5. Layer your pieces: Starting with the batting, insul-bright, (1) layer of pumpkin fabric, the green fabric folded at the top with raw edges lined up with the raw edges of the pumpkin fabric, and then the last pumpkin fabric on top.


6. Pin the pieces in place. Sew around the edge using a 1/2″ seam allowance making sure to backstitch at the beginning and the end, and leaving a 3-4″ opening.

7. Trim any excess batting or fabric around the edge and clip around the edge to make turning easier. Be careful not to cut through the seams. Cut small slits along the edge to help the pumpkin lay flat.

8. Going through the opening between the (2) pumpkin fabric layers turn the potholder right side out. Make sure to push out all of the corners.

9. Using your iron press the pumpkin seams and fold in the raw edges of the opening to help when sewing it shut.

10. Topstitch around the edge using about a 1/4″-1/2″ seam allowance all the way around, making sure to close the opening as you go.

11. Using a marking tool that will erase (I used a chalk pencil) mark the pumpkin curves and then sew them backstitching at the beginning and the end.

12. Trim your threads, and you are finished!

Why you’ll love these pumpkin potholders:
Crafting these pumpkin potholders add a touch of autumn warmth and creativity to your kitchen. It’s not only practical but also a delightful reminder of the season’s festivities. So, gather your supplies, start sewing, and enjoy the charm of your handmade pumpkin potholder all season long. Happy crafting!


2 Responses
This website is broken. I have a subscription, cannot find the log in, cannot find the link to the PDF. It takes me back to the sign up page.
Hi, Olivia! I think we may have been having a bit of a website overhaul last time you checked! It should all be fixed now, and thank you so much for your patience while we make Elevation Handmade and The Makers Club even better for you!