
As the leaves turn golden and the air grows crisp, it’s time to embrace the cozy charm of autumn in every corner of your home. One delightful way to do this is by crafting a handmade Pumpkin Garland. With just a few supplies and some simple steps, you’ll have a beautiful decoration that captures the essence of the season. Let’s dive into this fun and creative project!
Supplies and Tools You Need To Make Pumpkin Garland:
To make (1) Pumpkin:
- Fabric (5″ x 9″)
- 1/2″ Twill tape or ribbon (4″ long)
- Twine
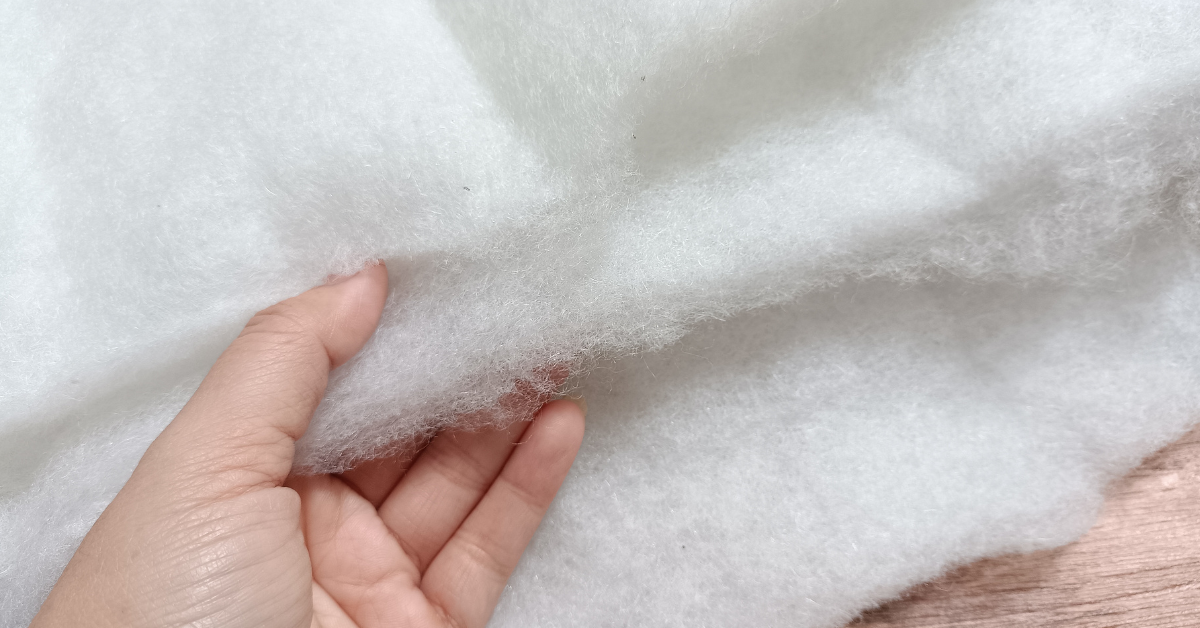
- Poly-fil
- Printed pumpkin template
- Sewing Machine and thread
- Pins
- Clips
- Fabric scissors
- Paper scissors
- Marking tool (pencil)
How To Make Pumpkin Garland
- Print and cut out your template. Fold your fabric in half, wrong sides together, stack your template on top, pin in place. Trace around your template, remove pins and template. Replace the pins so the layers don’t shift when cutting, and cut out your fabric pieces.

2. Cut your twill tape/ribbon to 4″, you will need one 4″ piece per pumpkin.
3. Fold your twill tape/ribbon in half and sandwich it between the (2) pumpkin pieces, right sides facing out. The folded edge of the twill tape/ribbon will be out.

4. Clip your twill tape/ribbon into place, and add a couple of pins to the pumpkin piece.

5. Sew with a 1/4″ seam allowance, leaving a 1-2″ opening at the bottom. Backstitch at the beginning and end. Stuff the pumpkin with polyfil.


6. Sew the opening closed. Backstitch at the beginning and end. You can fray the edges if you want for an added rustic touch.


7. Repeat steps #2-7 for as many pumpkins as you want. String the finished pumpkins onto the twine to hang.


Commonly Asked Questions:
Where can I find the pumpkin template for this project?
Print the downloadable PDF to get the supply list, instructions, and templates.
What type of fabric works best for this project?
A fabric measuring 5″ x 9″ is recommended for this project. Opt for fall-themed patterns or colors that resonate with the season, such as warm oranges, deep reds, or earthy browns.
Can I customize the size of the pumpkins in this garland?
Absolutely! If you’d like to make larger or smaller pumpkins, you can adjust the size of the template accordingly before cutting out your fabric pieces.
Is it necessary to use a sewing machine, or can I sew this by hand?
While a sewing machine is recommended for efficiency, you can certainly sew this project by hand if you don’t have access to one. Use a sturdy thread and employ a backstitch for durability.
Can I add extra embellishments to the pumpkins for a personalized touch?
Absolutely! Feel free to get creative with your pumpkin garland. Consider adding buttons, fabric paint, or even embroidery to give each pumpkin a unique flair.
How can I store this garland when it’s not in use?
To preserve your Pumpkin Garland, gently fold it and store it in a cool, dry place. Avoid exposing it to direct sunlight for extended periods to prevent fading.
Where are some creative places to hang the Pumpkin Garland in my home?
The possibilities are endless! Hang it on your fireplace mantel, drape it along a staircase railing, or use it to adorn a cozy reading nook. It can also be a delightful addition to your fall-themed gatherings.
Congratulations, you’ve successfully crafted your own charming Pumpkin Garland! Hang it proudly in your home to celebrate the beauty of fall. This delightful project not only adds a touch of seasonal warmth but also showcases your creativity and crafting skills. Enjoy the cozy ambiance it brings to your space!
If your child is crafty (but maybe you are not) and you want a done-for-you, safe, kid-friendly platform that has a variety of age-appropriate projects to choose from where I break down each project into manageable pieces with video and written instructions, I encourage you to check out the Makers Club membership just for kids. Join today and see how your child’s confidence increases and they relax into learning a lifelong skill with other like-minded crafters just like them.
Happy crafting!