supply list for Clay Pumpkin and Pumpkin Tray:
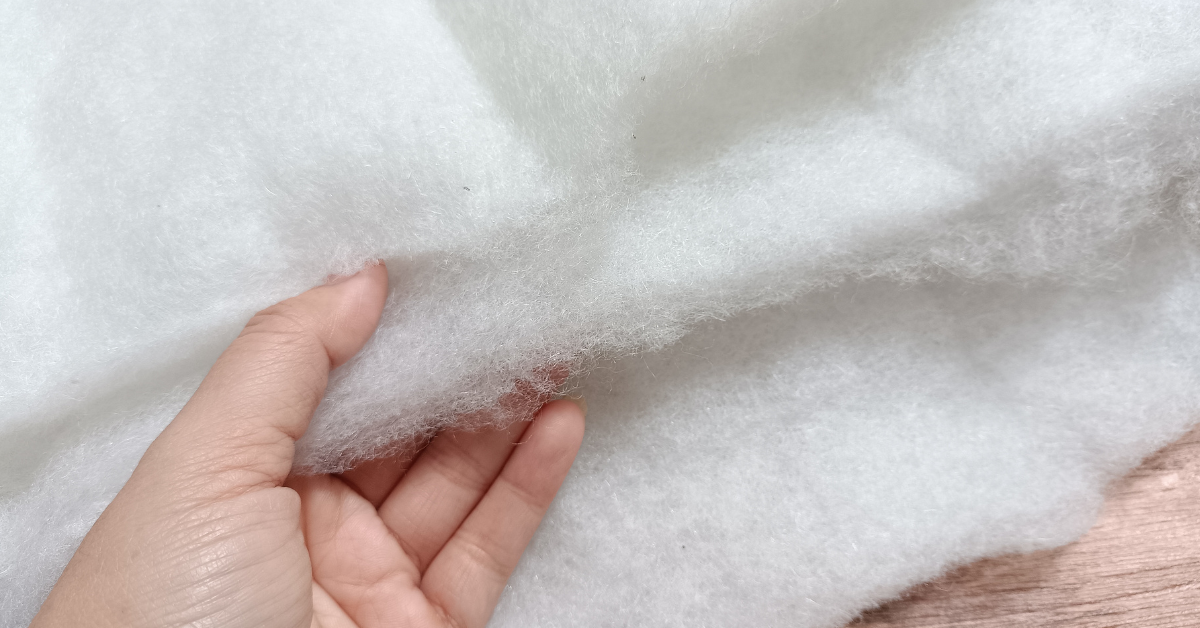
- Model magic clay-I am using white, and will paint it but you can choose pumpkin colors if you do not want to paint it.
- Acrylic paint-I used orange and green
- Paintbrush
- Paper Plate
- Parchment paper
- Tool for the lines on the pumpkin, could be a skewer, paint brush handle etc.
- Cup of water
- Paper towel
step-by-step instructions to make clay pumpkins and trays:
1.Place your parchment paper on your working surface. Model magic clay will stick to itself, so be aware of this when you are ready to attach the pieces.
2. With the model magic create a sphere for the clay pumpkin shape.

3. Create a cylinder shape for the stem and taper one end.

4. Now take the end of a paintbrush or other pointed tool and create a hole in the top of the clay pumpkin. Place the cylinder into the hole you created.

5. Using the edge of your pointed tool, rock your tool along the side of your pumpkin to create indents.

6. To make the leaves create two teardrop shapes with the clay and using your pointed tool, make some lines in your leaves. Attach the leaves near the stem. Let your pumpkin dry completely, usually 24hrs.


7. To make your pumpkin tray start with your stem. You will get a small piece and create a flat top, a cylinder shape, and then flares on both sides. When your dish is finished, attach it to the top of the shallow dish.

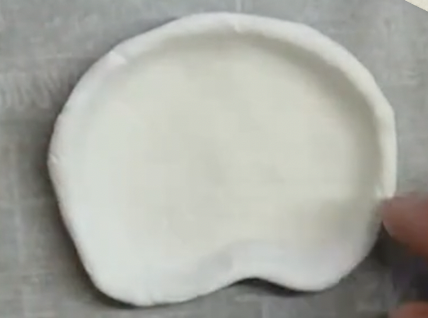
8. To make the dish, create a shallow circle shape, and then indent the bottom edge so it looks like a pumpkin.

9. Place something underneath the stem so it stays level with the edge of the dish. Let it dry completely, usually 24 hours.

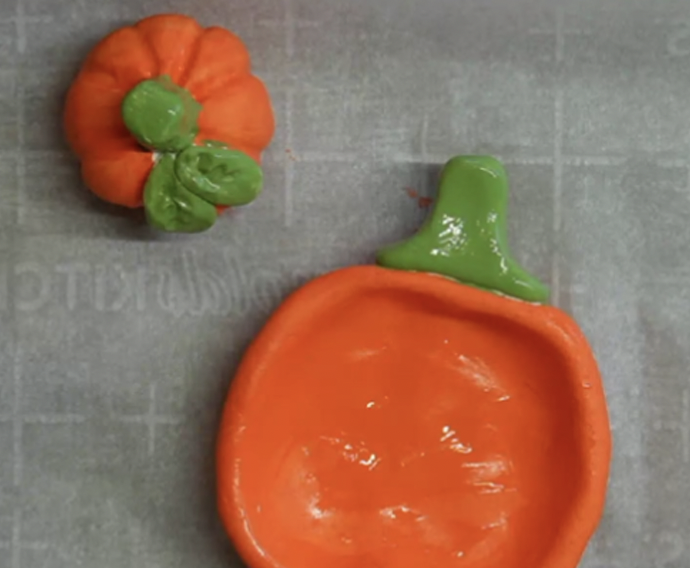
10. Paint your pumpkins, if you have the time I would do one color, let it dry and they paint the next color, this will help keep the paint from smearing or coming off.


11. Let them dry completely and you have two cute fall pumpkins!


