
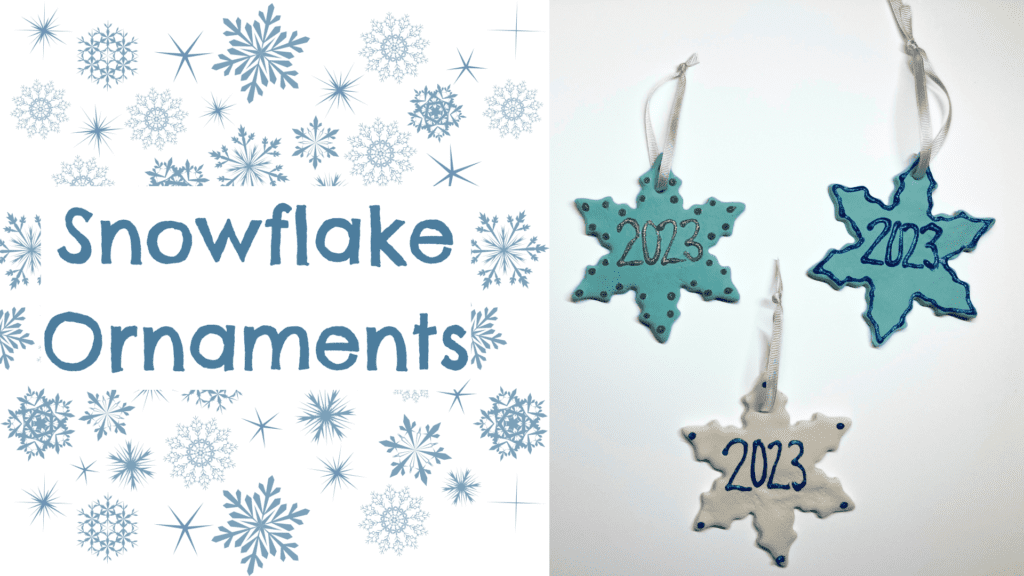
supply list for Snowflake Ornaments:
- Model magic clay (white or light blue)
- Snowflake cookie cutter
- Ribbon
- Puffy paint or glitter glue
- Scrap paper or parchment paper for your work surface
- Scissors
step-by-step instructions to make a snowflake ornament with model magic clay:
- Lay down your parchment paper/scrap paper.
- Roll out your clay to about 1/4″ thick and big enough for your cookie cutter.


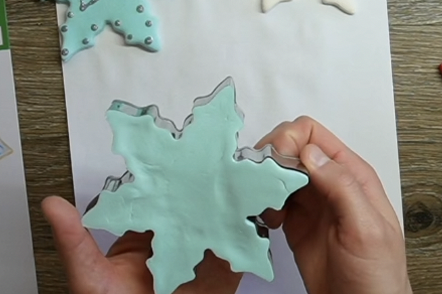
3. Press your cookie cutter into your clay and cut away the excess.

4. Using a pen lid, or the tip of a paintbrush cut the hole in the top for your ribbon.

5. Let your snowflake dry completely. Using your glitter glue/puffy paint decorate your snowflake. You can add a name, a date, and different embellishments. Let the glitter dry completely.

6. Place your ribbon through the hole at the top and tie the two ends together.

7. Don’t forget to put who it’s for and who it’s from on the back, you are ready to gift your ornaments, or keep them for your own tree!