

Stepping into another world through the pages of a book is one of life’s greatest pleasures. Making your very own DIY tassel bookmark is a great way to grow your creativity and level up your reading time.
This fun and easy tassel project adds a burst of color to your reading adventures, and also makes a charming gift for fellow bookworms. So, grab your craft supplies and let’s get going!
Materials Needed for your tassel bookmark:
- Embroidery floss (1 skein per bookmark)
- Beads (optional)
- Jumbo paperclip (1 per bookmark)
- Sharp scissors
How to make a tassel bookmark:
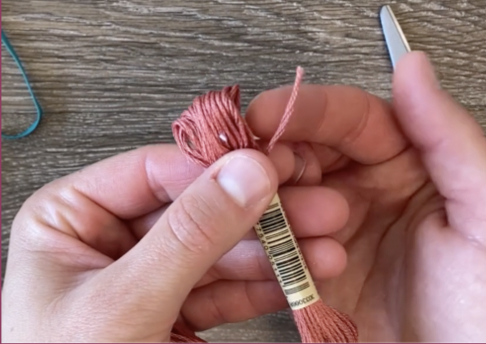
Step 1:
Keeping the paper cuffs on your skein of embroidery floss pull out a piece that is from your fingertips to your shoulder and cut. Then pull a piece about 8″long, and cut.
Step 2:
Take the longer piece you just cut line up the cut ends, and feed the loop on the other end through the paper clip. Take the cut ends through the loop to secure it to the paper clip.
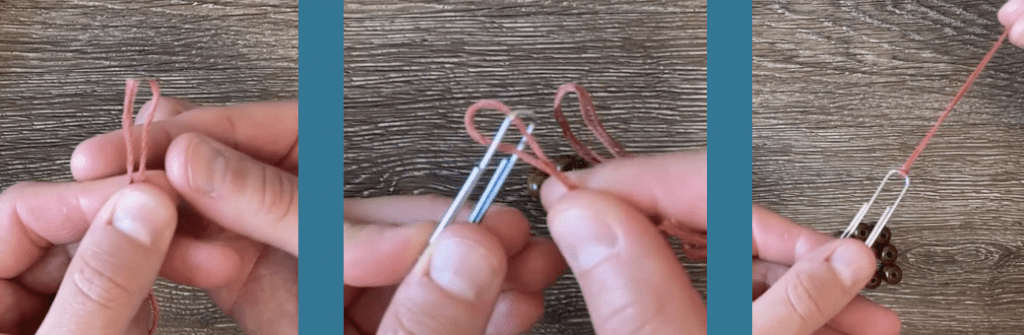
Step 3:
Separate the two pieces of floss add the skein, and tie a few knots to secure.

Step 4:
Pull the paper cuffs off, cut the loops on the embroidery floss, and straighten out the strands.
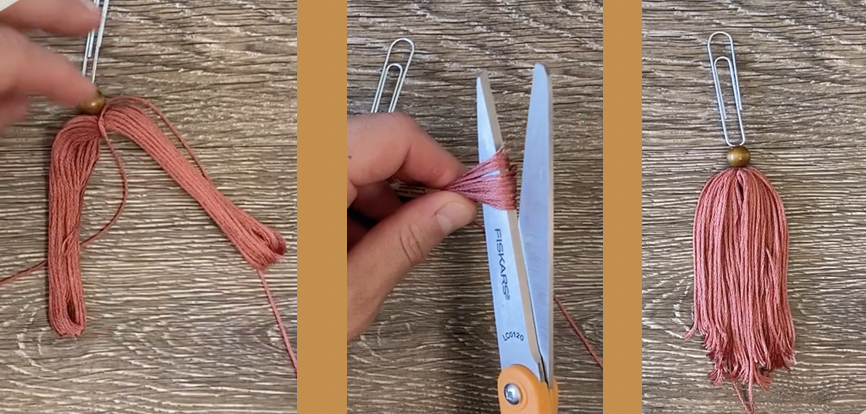
Step 5:
Take the smaller piece you cut and lay the tassel on top. You will wrap the top of the tassel and knot a few times to secure it. Straighten out the strands and trim to even up the strands.

Step 6:
Add it to your favorite book!