

As the holiday season approaches, there’s no better time to infuse your home with warmth and creativity. Crafting your own Thanksgiving placemats is a wonderful way to do just that. With a few simple supplies and easy-to-follow steps, you can create personalized placemats that will set the perfect tone for your festive gatherings. Let’s get started on this delightful DIY project!
What you need to make DIY Thanksgiving Placemats
- Front fabric (13″ x 18″)
- Back fabric (13″ x 18″)
- Pocket fabric (5″ x 12″)
- Batting
- Sewing Machine
- Pins
- Iron
- Ironing board/mat
- Fabric scissors or rotary cutter and mat
How To Make DIY Thanksgiving Placemats
- Cut your fabric pieces and batting pieces.
- Layer the batting, front piece, and back piece, with the right sides facing each other.


3. Take the 3 layers and sew all the way around using a 1/2″ seam allowance, leaving a 4″-5″ opening at the bottom. Backstitch at the beginning and end.

4. Trim the corners and the edges to remove any excess fabric. This will help with the bulk in the corners.

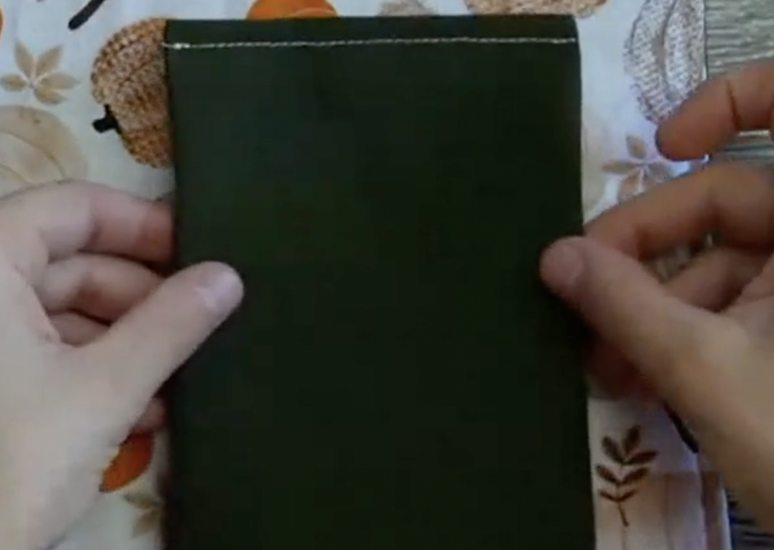
5. Turn your placemat right side out, going between the front and back fabrics to turn.

6. Push out all of the corners and flatten the seams. Using an iron will help with this. Tuck the raw edges of the opening inside and press.

7. Using a 1/4″ seam allowance topstitch around the placemat making sure to close the opening of the as you go.

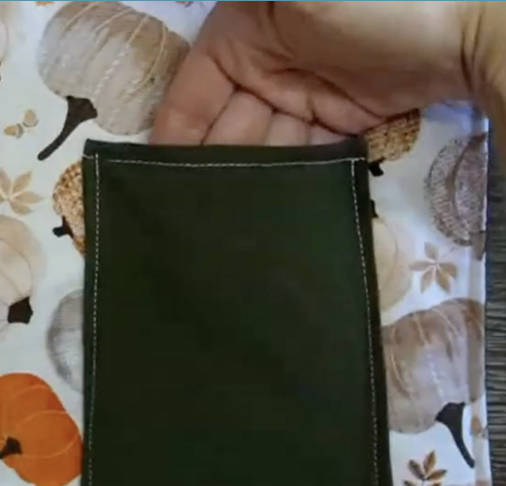
8. To make your pocket for the fold your 5″ x 12″ fabric and sew on the raw edges of the right and left sides, leaving an opening at the bottom about 2″-3″ wide.

9. Turn your pocket right side out and fold in the raw edges of the opening. Topstitch on the folded edge. This will be the top of your pocket.
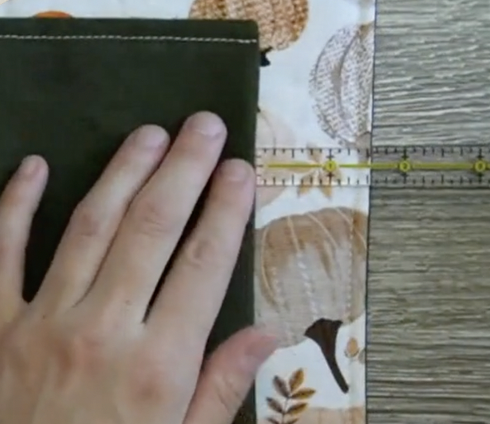
10. Measure 1 1/2″ from the right side of the placemat and 1 1/2″ from the bottom and pin your pocket in place. Sew the pocket on the left, bottom, and right sides.


Commonly Asked Questions for Thanksgiving placemats:
Can I use different fabrics for the front and back of the thanksgiving placemat?
Absolutely! Choosing complementary fabrics for the front and back can add visual interest to your Thanksgiving placemats. Just ensure that both pieces are of the same dimensions (13″ x 18″) to maintain balance.
What type of batting is recommended for this project?
A lightweight cotton or polyester batting is ideal for this project. It provides a bit of cushioning without adding excessive bulk to the placemat.
How do I ensure the corners of the placemat are neat and tidy?
After turning the Thanksgiving placemat right side out, use a blunt tool (like a pencil or chopstick) to gently push out the corners. This will give them a sharp, clean appearance.
Can I add extra embellishments to the placemats for a personalized touch?
Certainly! You can consider adding fabric appliqués, embroidery, or fabric paint to further customize your Thanksgiving placemats and make them uniquely yours.
Are these placemats machine washable?
Yes, these placemats can be machine washed on a gentle cycle. Use cold water and mild detergent, and lay them flat to air dry. Avoid high heat to prevent any potential shrinking or damage.
Congratulations! You’ve just crafted beautiful Thanksgiving placemats that will add a personal touch to your holiday table. These handmade creations not only showcase your creativity but also create a warm and inviting atmosphere for your guests. Set your table with pride and enjoy the festive season!
If your child enjoyed making this Thanksgiving placemat and loves to sew or would like to learn how to sew check out Elevation Handmade Kids courses today!